
So, I've been wanting to post pictures of my new home studio for awhile now, but I kept waiting thinking I would organize and clean it up better first. Then I realized that this is me we are talking about and that my studio is probably the cleanest it will ever be right now. So, here you go, pictures of my new studio! I have to say, I love it. I love being able to work at home. I guess it has its advantages and disadvantages. There are less distractions than at school, but there are still lots of things that can take my attention away from work (like this computer for example). Honestly though, I love my little studio at home. I have lots more tools to accumulate over time, I am by no means fully equipped, but I can do a lot with what I do have and it makes me so happy. Sometimes I just go in there and look at it:) I know, I'm a huge dork, but you already knew that too:)
These are the pictures of the renovation process. We turned a bedroom in our townhouse into my studio. The first step was to clean out the monstrosity that the room had become. At one time I used the room to work on my school projects, but during my thesis year the room got out of control and then I just started piling things in it. It was horrible. I'm too embarrassed to show the picture of it up here so I'm putting it at the very bottom of this post. Don't judge me.

This is the room after the dump trucks cleaned it out (kidding). Its small, but its perfect for right now!

My hubby tearing out the carpet. I was so happy to see it go!

Yay! No more carpet! Oh, but I should mention that this is an upstairs bedroom (hence the plywood floors). And now that its a studio, its a very noisy upstairs bedroom:)

My favorite part! Color!

Pretty paint!


Starting to lay the Pergo flooring.

Laying the last piece (hours, and hours, and HOURS later).

Trying to arrange the furniture in a 9x11 bedroom to make the best use of the space (while being married to an engineer) is not the easiest of tasks, but we lived through it:)

So, the next step was to move all my junk in!

The room is small, 9x11, but I packed a bunch into it. Straight back is a large storage shelf, and then my soldering station in front of the window. On the right is my bench and a tool table with drawers. On the left is another small storage shelf and a larger work table. My hydraulic press fits perfectly between the door and the closet.


Here's my bench!

Soldering station.

Tool table with anvil, drill press, tumbler and dapping block/punches. On the shelf and wall are little things to inspire me, things from friends or that I've collected along the way.


My favorite drawer is full of hammers:)

Hydraulic press (built by Michael Dale Bernard)

Storage.


And the super embarrassing "before" picture. Hey, I said not to judge!!

 Just finished up 4 weeks of one of the most fun classes I have ever taught, Hand Fabricated Chains at Phoenix Art Center! I had a great group and they worked hard in what little time they had and finished with some great stuff. The first few images are chains I made as samples for the class, and the rest are a few images of some of the student work (I didn't get pics of everything unfortunately) . Ill be teaching this class again in the fall, but in an 8 week format as opposed to 4 weeks, and it will be at Mesa Art Center...stay tuned for details!
 samples
 More samples. I made a bunch of copper samples too but forgot to take pics of them so I guess I'll post them later.
 samples
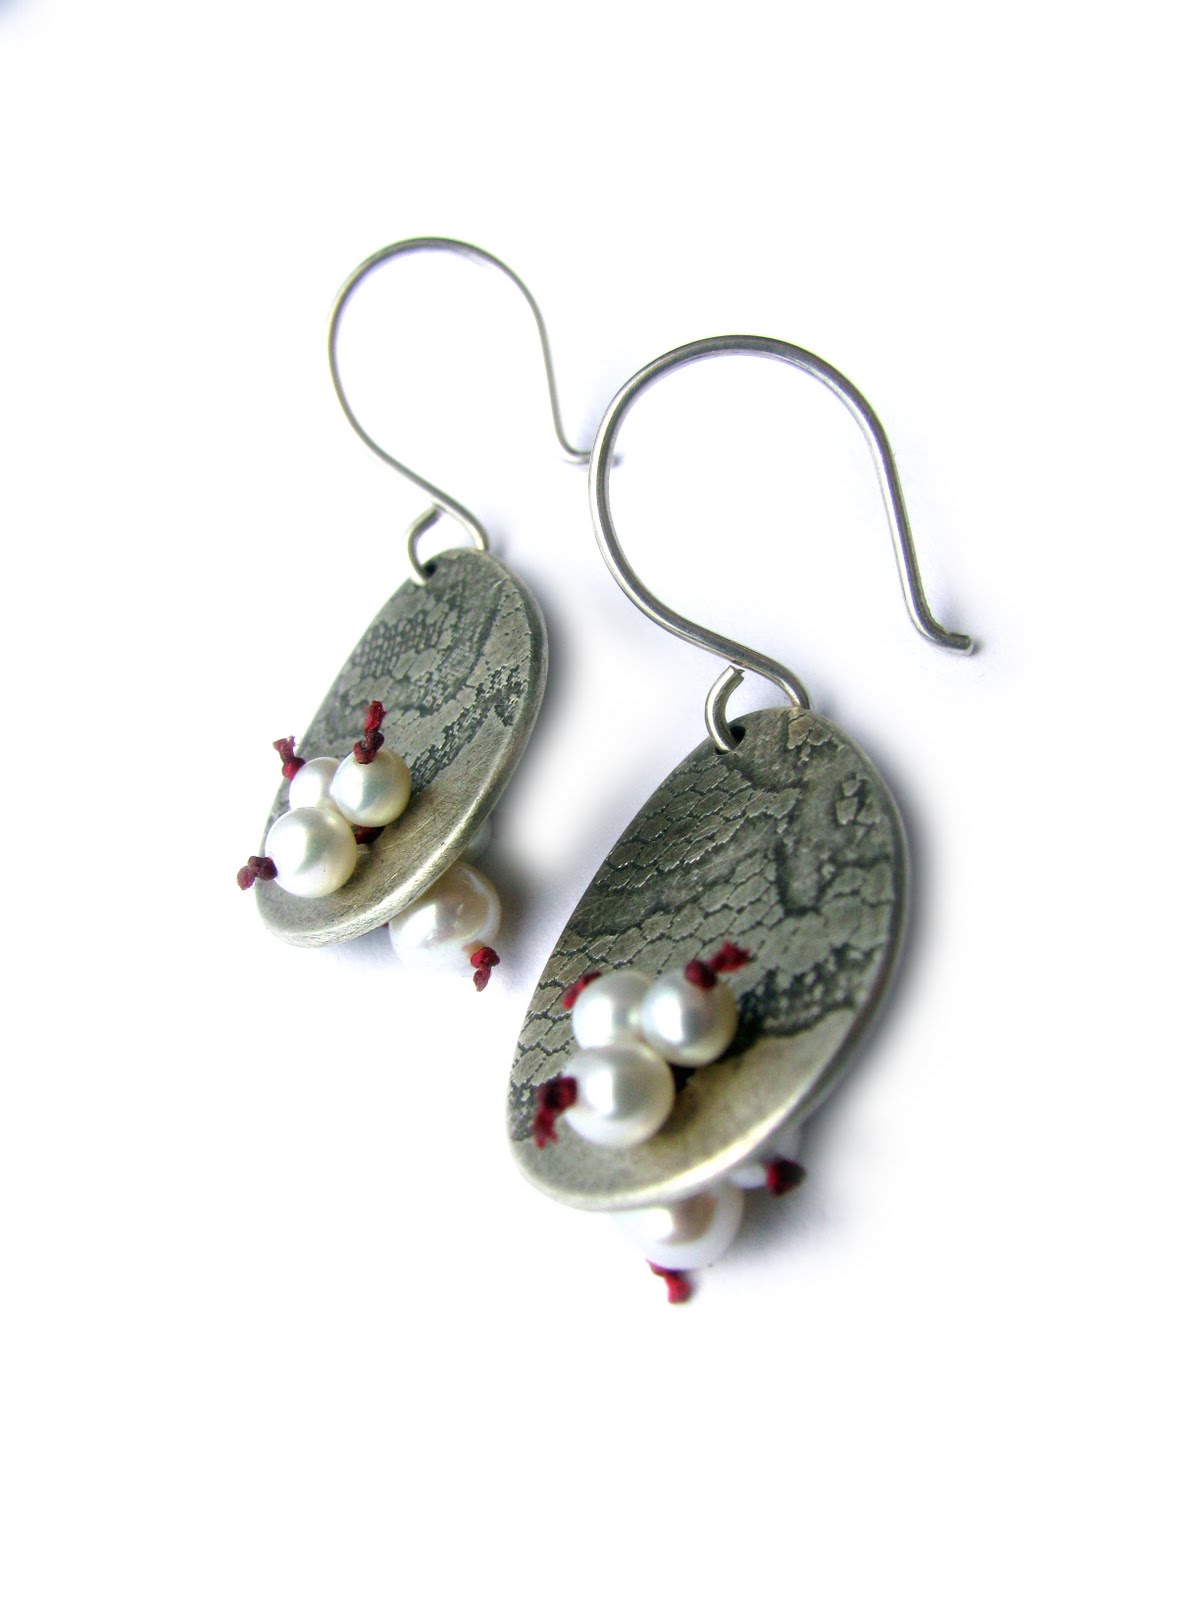
 Sandy Halka
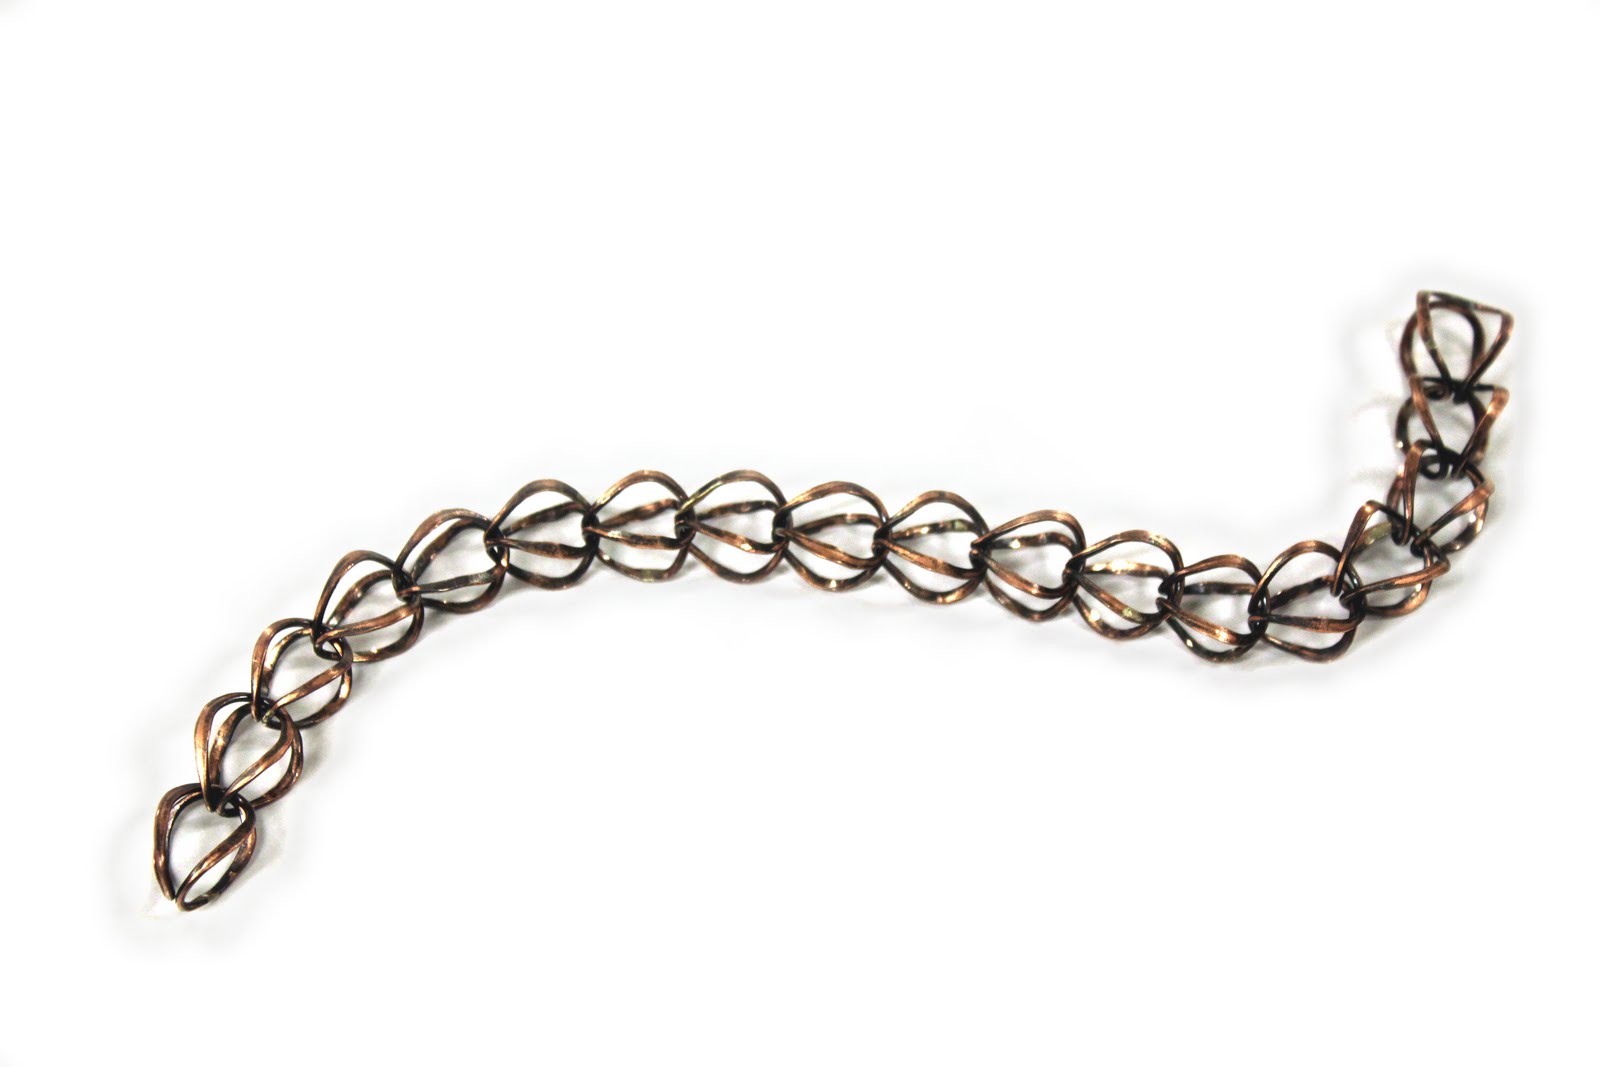 Paula Ellis
 Kay Cummins

.gif)
.gif)
.gif) Nina Jeffre
Nina Jeffre.gif) Nina Jeffre
Nina Jeffre.gif) Nina Jeffre
Nina Jeffre.gif)
 Kay Cummins

.gif)
.gif)
.gif) Nina Jeffre
Nina Jeffre.gif) Nina Jeffre
Nina Jeffre.gif) Nina Jeffre
Nina Jeffre.gif)


